|
SoCoder -> Blogs Home -> Blogs |
|
|
|
|
|
spinal |
Intellivision Controller Adapter |
|
As some of you will know, I have just spent a few days cobbling together an adapter to use an old Matel Intellivision controller on a PC. I know there are a couple of solutions already, but this one is mine, so there. I decided that the simplest way would be to encode the inputs as keyboard keys, rather than a regular game controller as other people have done. This is for two reasons, one, it wont be used for anything other than playing specific emulated games and two, it has a digital 16 direction digital pad, which would make use with emulators a little trickier than it would need to be (digital to analog and back to digital is just a waste). So, here are a couple of pics... 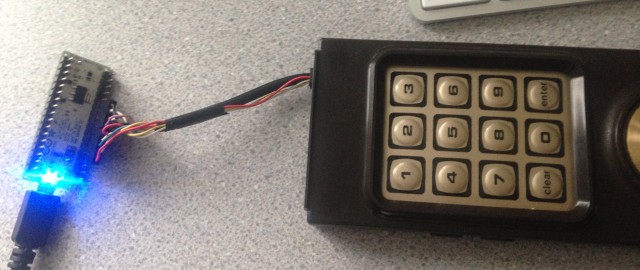 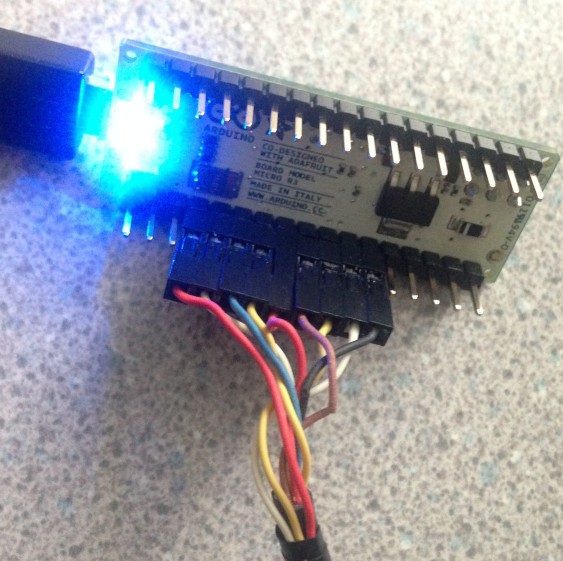  Final(ish) version... No mess, no soldering, just plug into the Arduino Micro, install the code and your off! 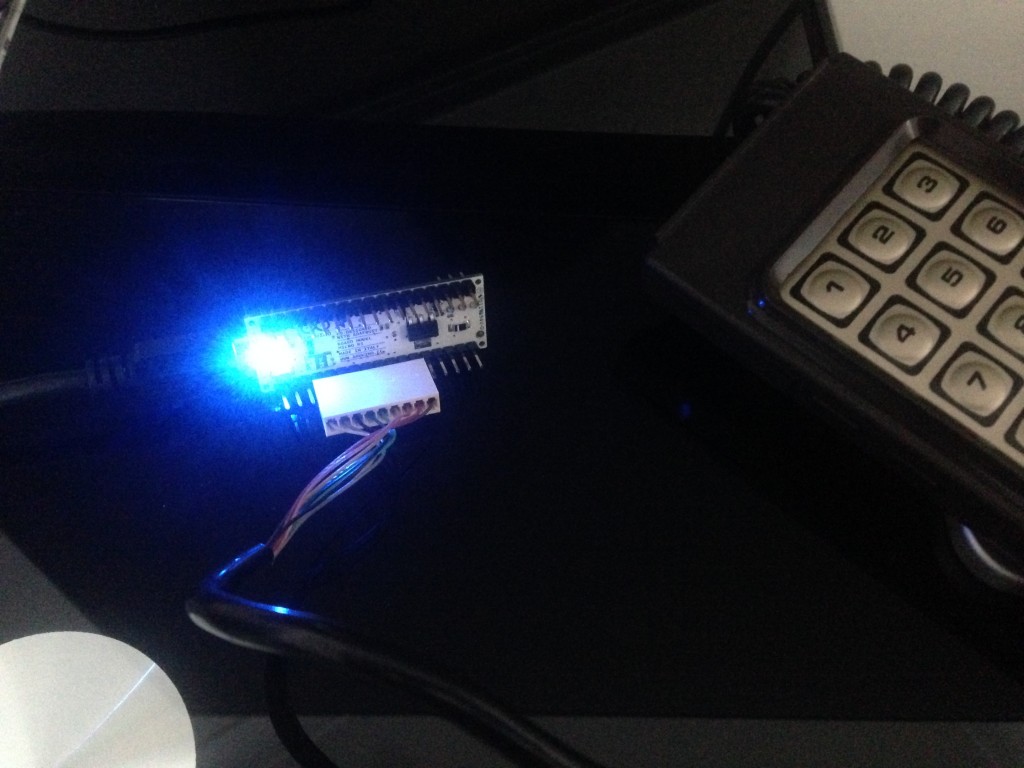 I had hoped to internalize the adapter, but that can't happen. There is literally less than no space inside. Here is a little techie info... The controller uses a 9-pin interface, originally hard wired to the console, but later connected using a DB9 connector. The controller has an insane 15 buttons and 12 directions, which are read from different combinations of those wires being grounded. The '16' directions claimed are really just 12, with some of the directions combined, much like the way modern 4-way d-pads emulate 8 directions by pressing up+left for example. I mapped the inputs to the following keys.. Notice the two top side buttons are the same and the 12 directions are missing the 45 degree mapping, The only accurate way to do this was to actually send two keys for these directions, so up-right would send b+d at once. As usual, here is the source for anyone else who want's to do this... Final version, kept the above just in case. This one is a solderless solution (if your Arduino (or clone) already has pin headers) So you can just plug the version 1 controller straight into your Arduino and change the pin numbers to match. For my final version, I substituted GND for C2 simply because it was next to D0, and set it to OUTPUT and LOW so that it would act as Ground. Here are how the controls are mapped. Stole an image, plonked a credit along the top. 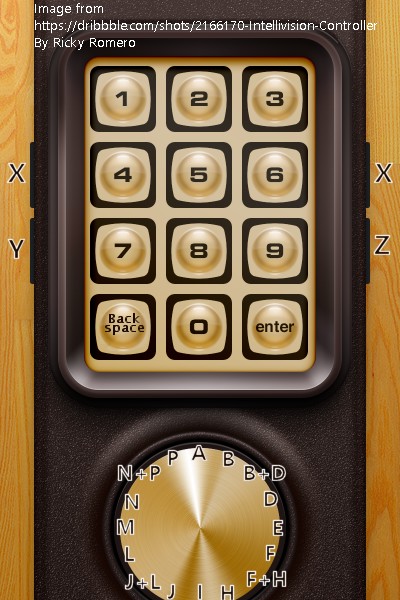 Remember, The Intellivision doesn't really have NorthEast, SouthEast, SouthWest or NorthWest, so don't bother mapping thos in your emulator, just make sure you have NorthNorthEast, NorthEastEast, SouthEastEast, SouthSouthEast etc. To use this in the 'Nostalgia' Intellivision emulator, just replace the following section in input.cfg... The all that's left is to bung it into a plastic box and gift it to your loving girlfriend... 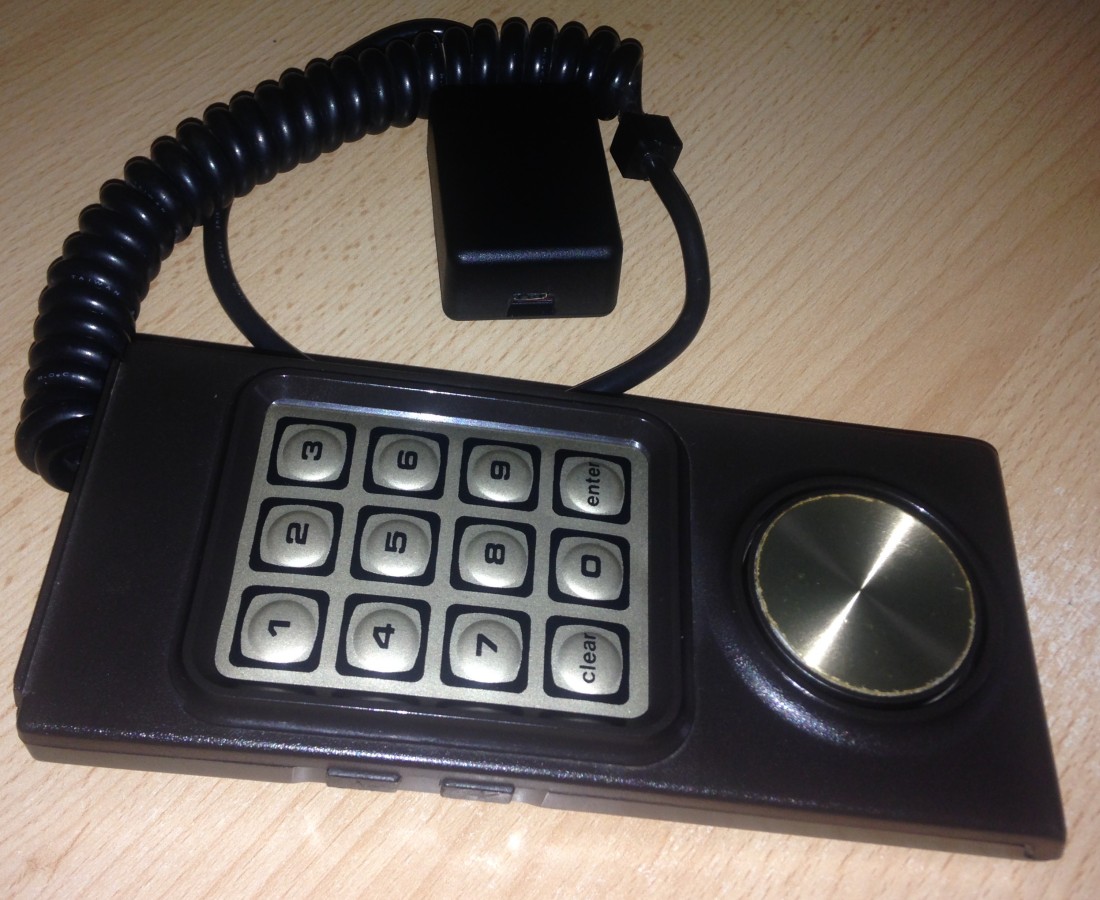
|
|
|
|
|
Comments |
|
| Friday, 16 September 2016, 04:23 | |
Jayenkai
|
Awesome stuff! Crazy 12way dpad FTW! |
| Saturday, 17 September 2016, 09:54 | |
spinal
|
Just to show how crazy this thing is and possibly why I can't get reasonable data from the circle-pad.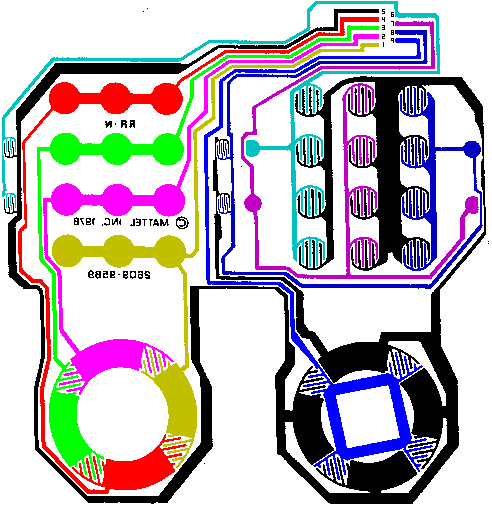 That circuit is folded in half, and a lot of the connections require at lease two pins to be grounded to be valid. |
| Saturday, 17 September 2016, 14:07 | |
|
Jayenkai
|
That looks a little insane!
|
| Saturday, 17 September 2016, 16:46 | |
steve_ancell
|
I have a qualification in electronics and even my brain is saying "fuck this!".
|
| Sunday, 18 September 2016, 03:02 | |
|
spinal
|
Just updated the code to allow only one button at a time ever. This gives a far more reliable disc reading. not sure if this is how the controller is intended to be read, common sense suggests not, but just look at the circuit, ain't no common sens in there, genius though it is, it's far too nutty to catch on. |edit| One more update, switched the pins around a little so I could add some other bits later. Got it working much better also. |
| Saturday, 24 September 2016, 13:45 | |
|
zzoom |
I've done a slice of acid burning PCB creation in my time - got some electronics quals too, respect 
|
| Sunday, 25 September 2016, 00:05 | |
|
spinal
|
Currently working on a solderless(kindof) version, using a cheaper AVR. Expect an update an a day or two.
|
| Sunday, 25 September 2016, 01:57 | |
|
Jayenkai
|
Anything that doesn't burn my fingers is good, in my opinion Good luck! |
| Sunday, 25 September 2016, 03:28 | |
|
spinal
|
Bah, it's looking impossible with the cheapo adruino nano rip-offs I got. They apparently wont let you use the usb port for anything.
|
| Sunday, 25 September 2016, 03:32 | |
|
Jayenkai
|
Awww.. How come?
|
| Sunday, 25 September 2016, 03:51 | |
|
spinal
|
Because they act exactly like arduino nano's, which use the usb as a serial com port only with no way (apparently) to override that.
|
| Sunday, 25 September 2016, 03:55 | |
|
Jayenkai
|
Huh... How odd. I'd've thought a USB Port was a USB Port. Guess not :/ |
| Sunday, 25 September 2016, 04:42 | |
|
spinal
|
It would explain why they were so cheap also. Not sure what I can do with them now, completely useless fro this project... |
| Sunday, 25 September 2016, 11:33 | |
|
spinal
|
Final update, added the code for the solderless version, basically reordered the inputs to be in the same pin order as the controller, added the ability to use a digital pin as GND, so you can more easily define which pins are being used, oh, and one last photo.
|
| Wednesday, 28 February 2018, 03:04 | |
|
Jayenkai
|
FWI : drgruney has posted an updated/tweaked edition of this code over on github, and gives you plenty of credit along the way.
|
| Wednesday, 28 February 2018, 03:24 | |
|
spinal
|
Cool 
|
| Monday, 29 October 2018, 17:21 | |
|
drgruney |
Howdy! Spinal, I'd like to give you a big thank you for all the work you did on this blog. Here's a link to a two-player version I've made that uses an MCP23017. It's not as plug and play as the single player, but a simple bodge job could make a pretty small adapter. My plan is to put this in an original Intellivision console I'm outfitting with a Raspberry Pi Zero. |
|
|
| |||
|
| ||||
Undock Sidebar
Log in
Register
Recent Uploads
spinal

angry dialog 01 test
spinal
angry dialog 01 test
spinal

glasses test
steve_ancell
IMG 202404 ... 104348 349
cyangames

snaphappy
Pakz
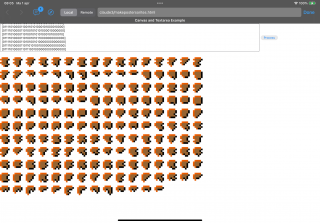
IMG 3178Spritegen
Pakz
IMG 0460Userint
spinal
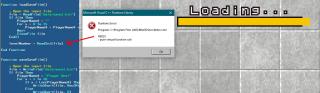
nerdly error 1
spinal
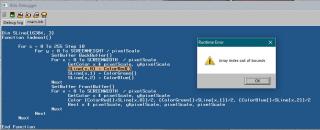
blitz3d error array
Pakz
pixelArtPoster26x6
Log in
Register
Recent Uploads
spinal

angry dialog 01 test
spinal
angry dialog 01 test
spinal

glasses test
steve_ancell

IMG 202404 ... 104348 349
cyangames
snaphappy
Pakz
IMG 3178Spritegen
Pakz

IMG 0460Userint
spinal

nerdly error 1
spinal
blitz3d error array
Pakz
pixelArtPoster26x6