


|
Socoder -> Off Topic -> My RPi now has cooling |
|
| Tue, 07 Oct 2014, 15:18 | |
steve_ancell
|
If you've overclocked your Raspberry Pi and want to give it a bit of cooling, here's how I did mine. I managed to get my hands on some micro cooling fans for my RPi at less than a couple of quid each. Had to solder some pins into the TP1/TP2 volt-test points as the RPi doesn't support cooling by default. My RPi is the 256MB version of the Model-B and therefore it has a row of pins that are apparently only of use to a broadcom engineer, well I managed to find use for that row of pins. I scavenged a system speaker connector from some old crap I had laying around, removed the wire, superglued the fans to it and then mounted the resulting assembly onto the Broadcom pins. Had to put some superglue down the back of the pins and ram some stripped-off wire sheathing into the holes where the wire used to poke out from the connector, this cured a very wobbly problem and it now holds quite firmly on top of the heatsinks. Connecting up is quite straight forward. Get the red wires from both fans, hold them together and poke them though some heat-shrinkable tubing and then do the same for the black wires. Find a couple of those connectors that connect a PC case to a motherboard, I used the ones that have two wires poking out and removed one insert from each, cut off some excess length and leave about two inches on the plug. Solder one plug to each pair of coloured wires on the fans, pull the heat-shrinkable tubing over the soldered area, hover the soldering iron underneath and slowly move it along to shrink it. Connect the black wire to TP1 and the red wire to TP2 by pushing the plugs onto the pins that you soldered onto the RPi, everything should be good to go. All I need to do now is seach the web and find out how to overclock. If you want to get the fans on the cheap, here's a link to where I obtained them. (Linkage)  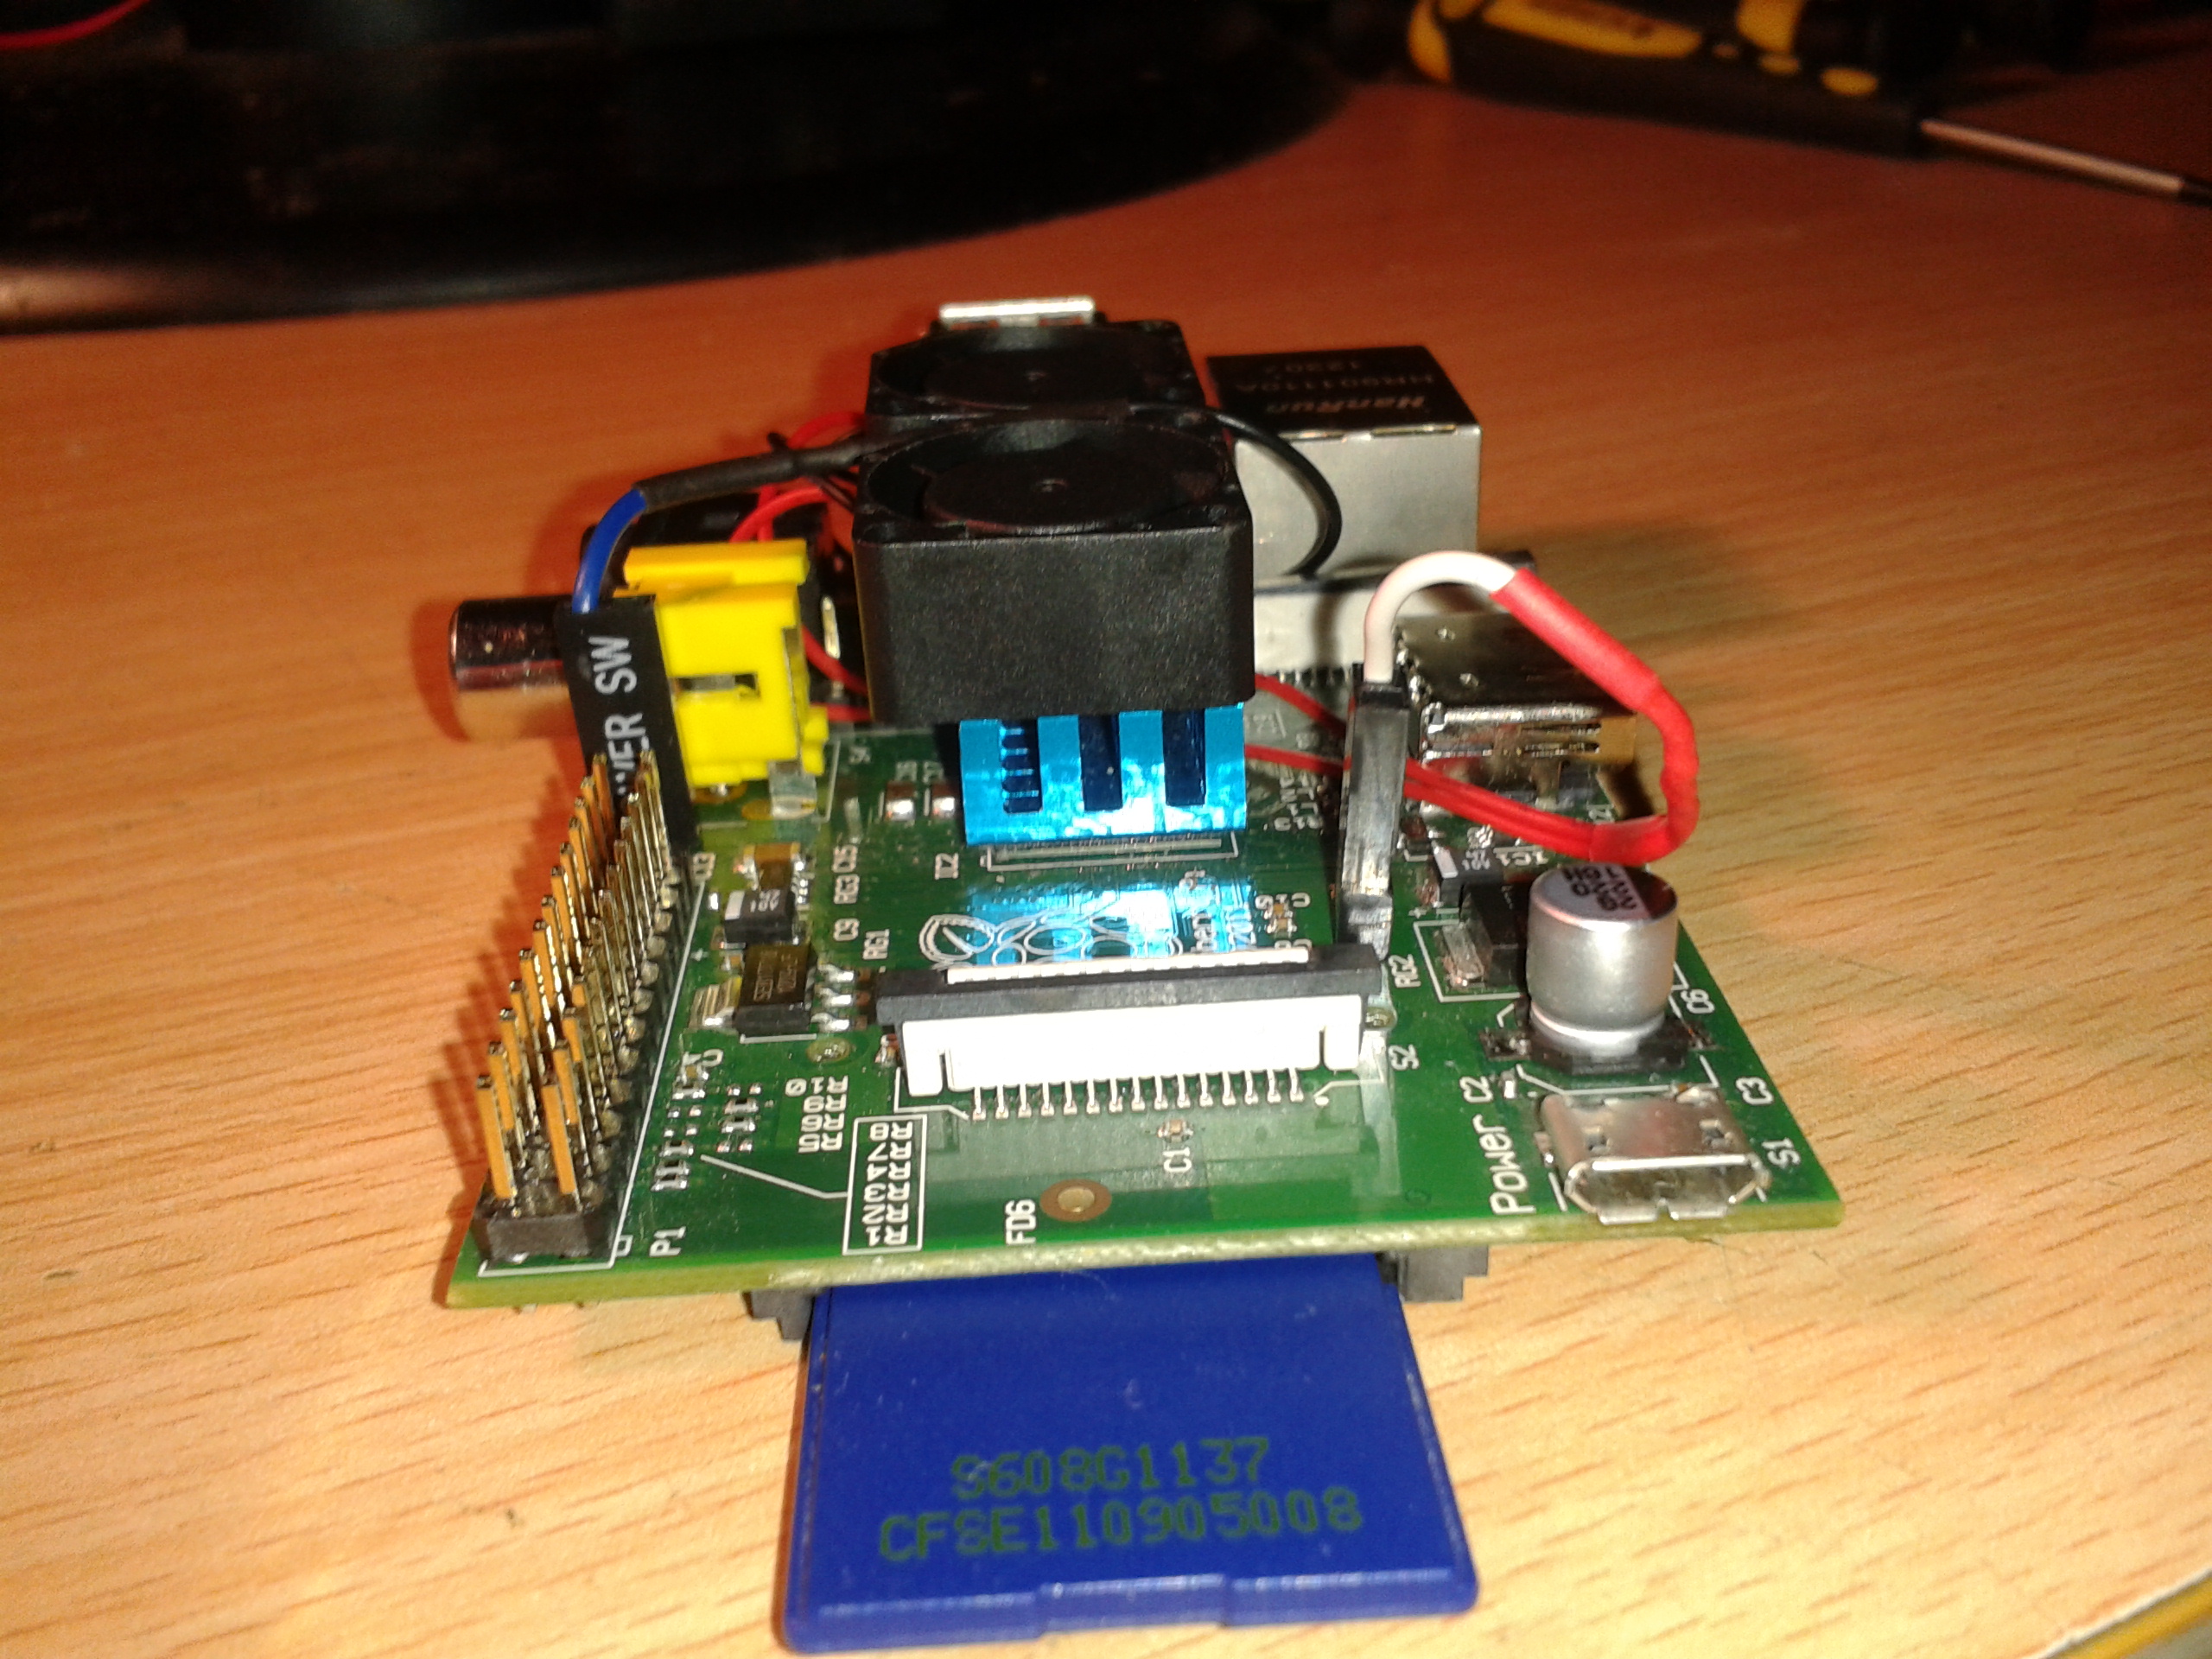 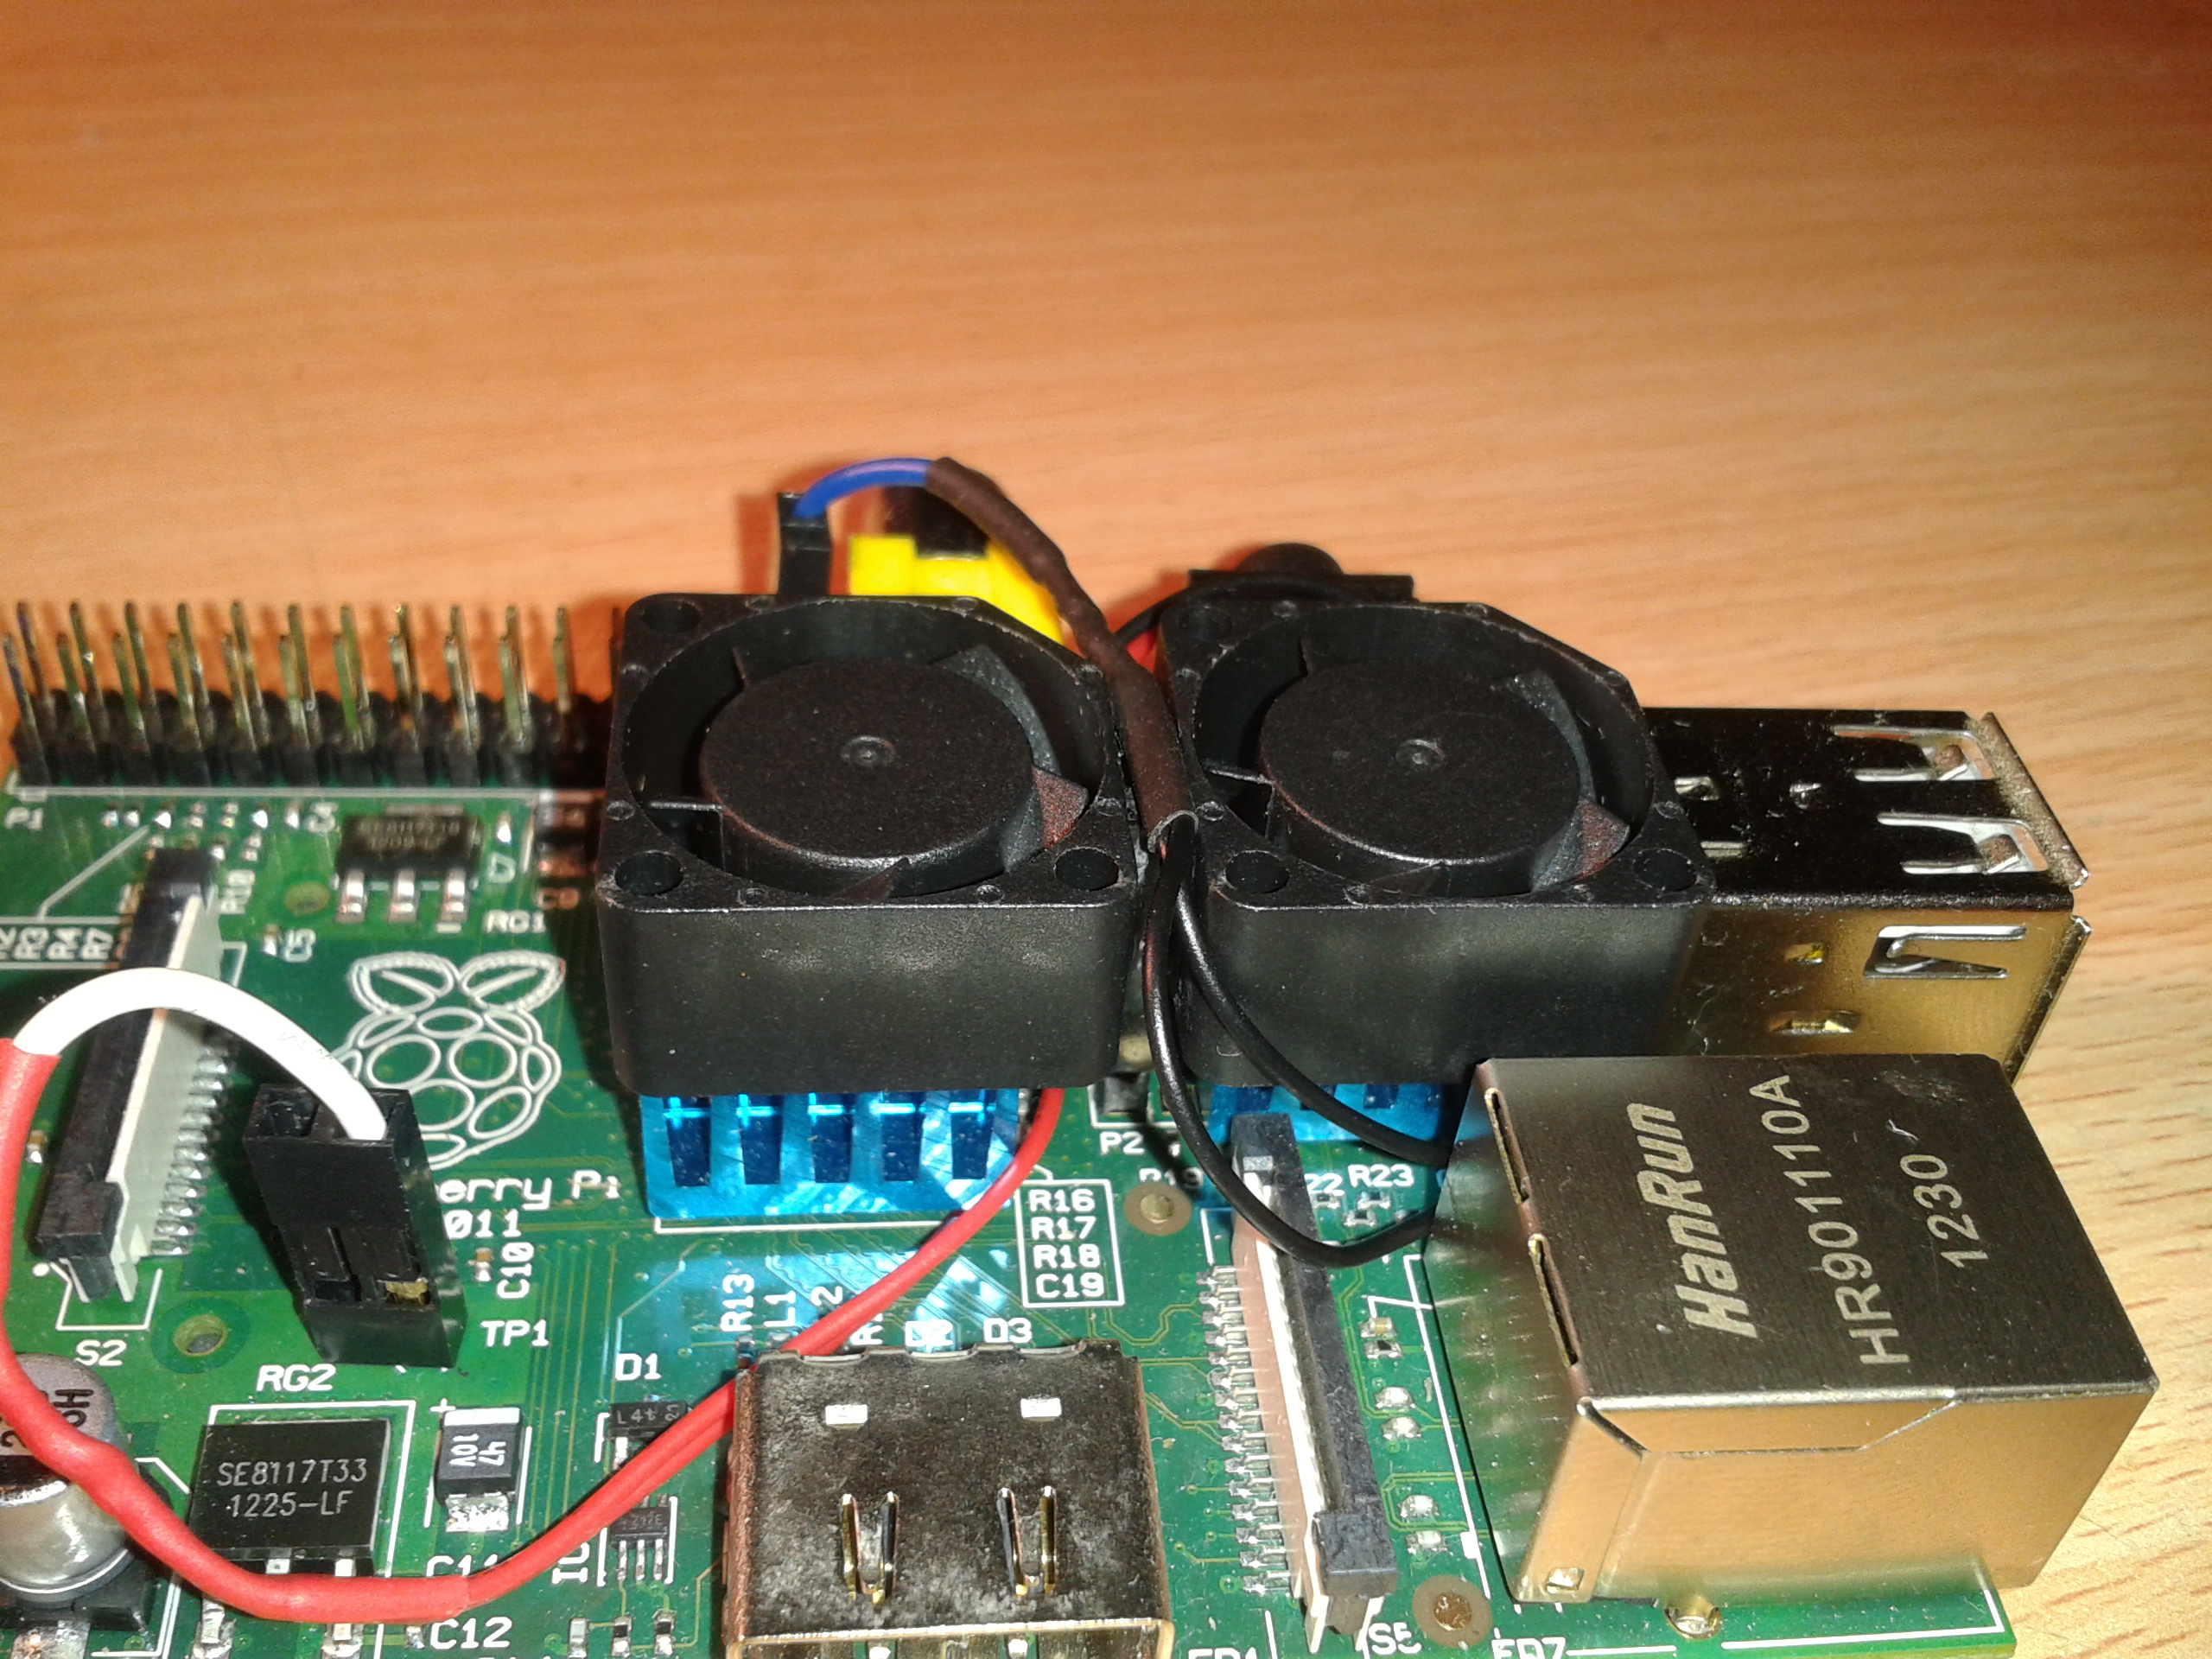  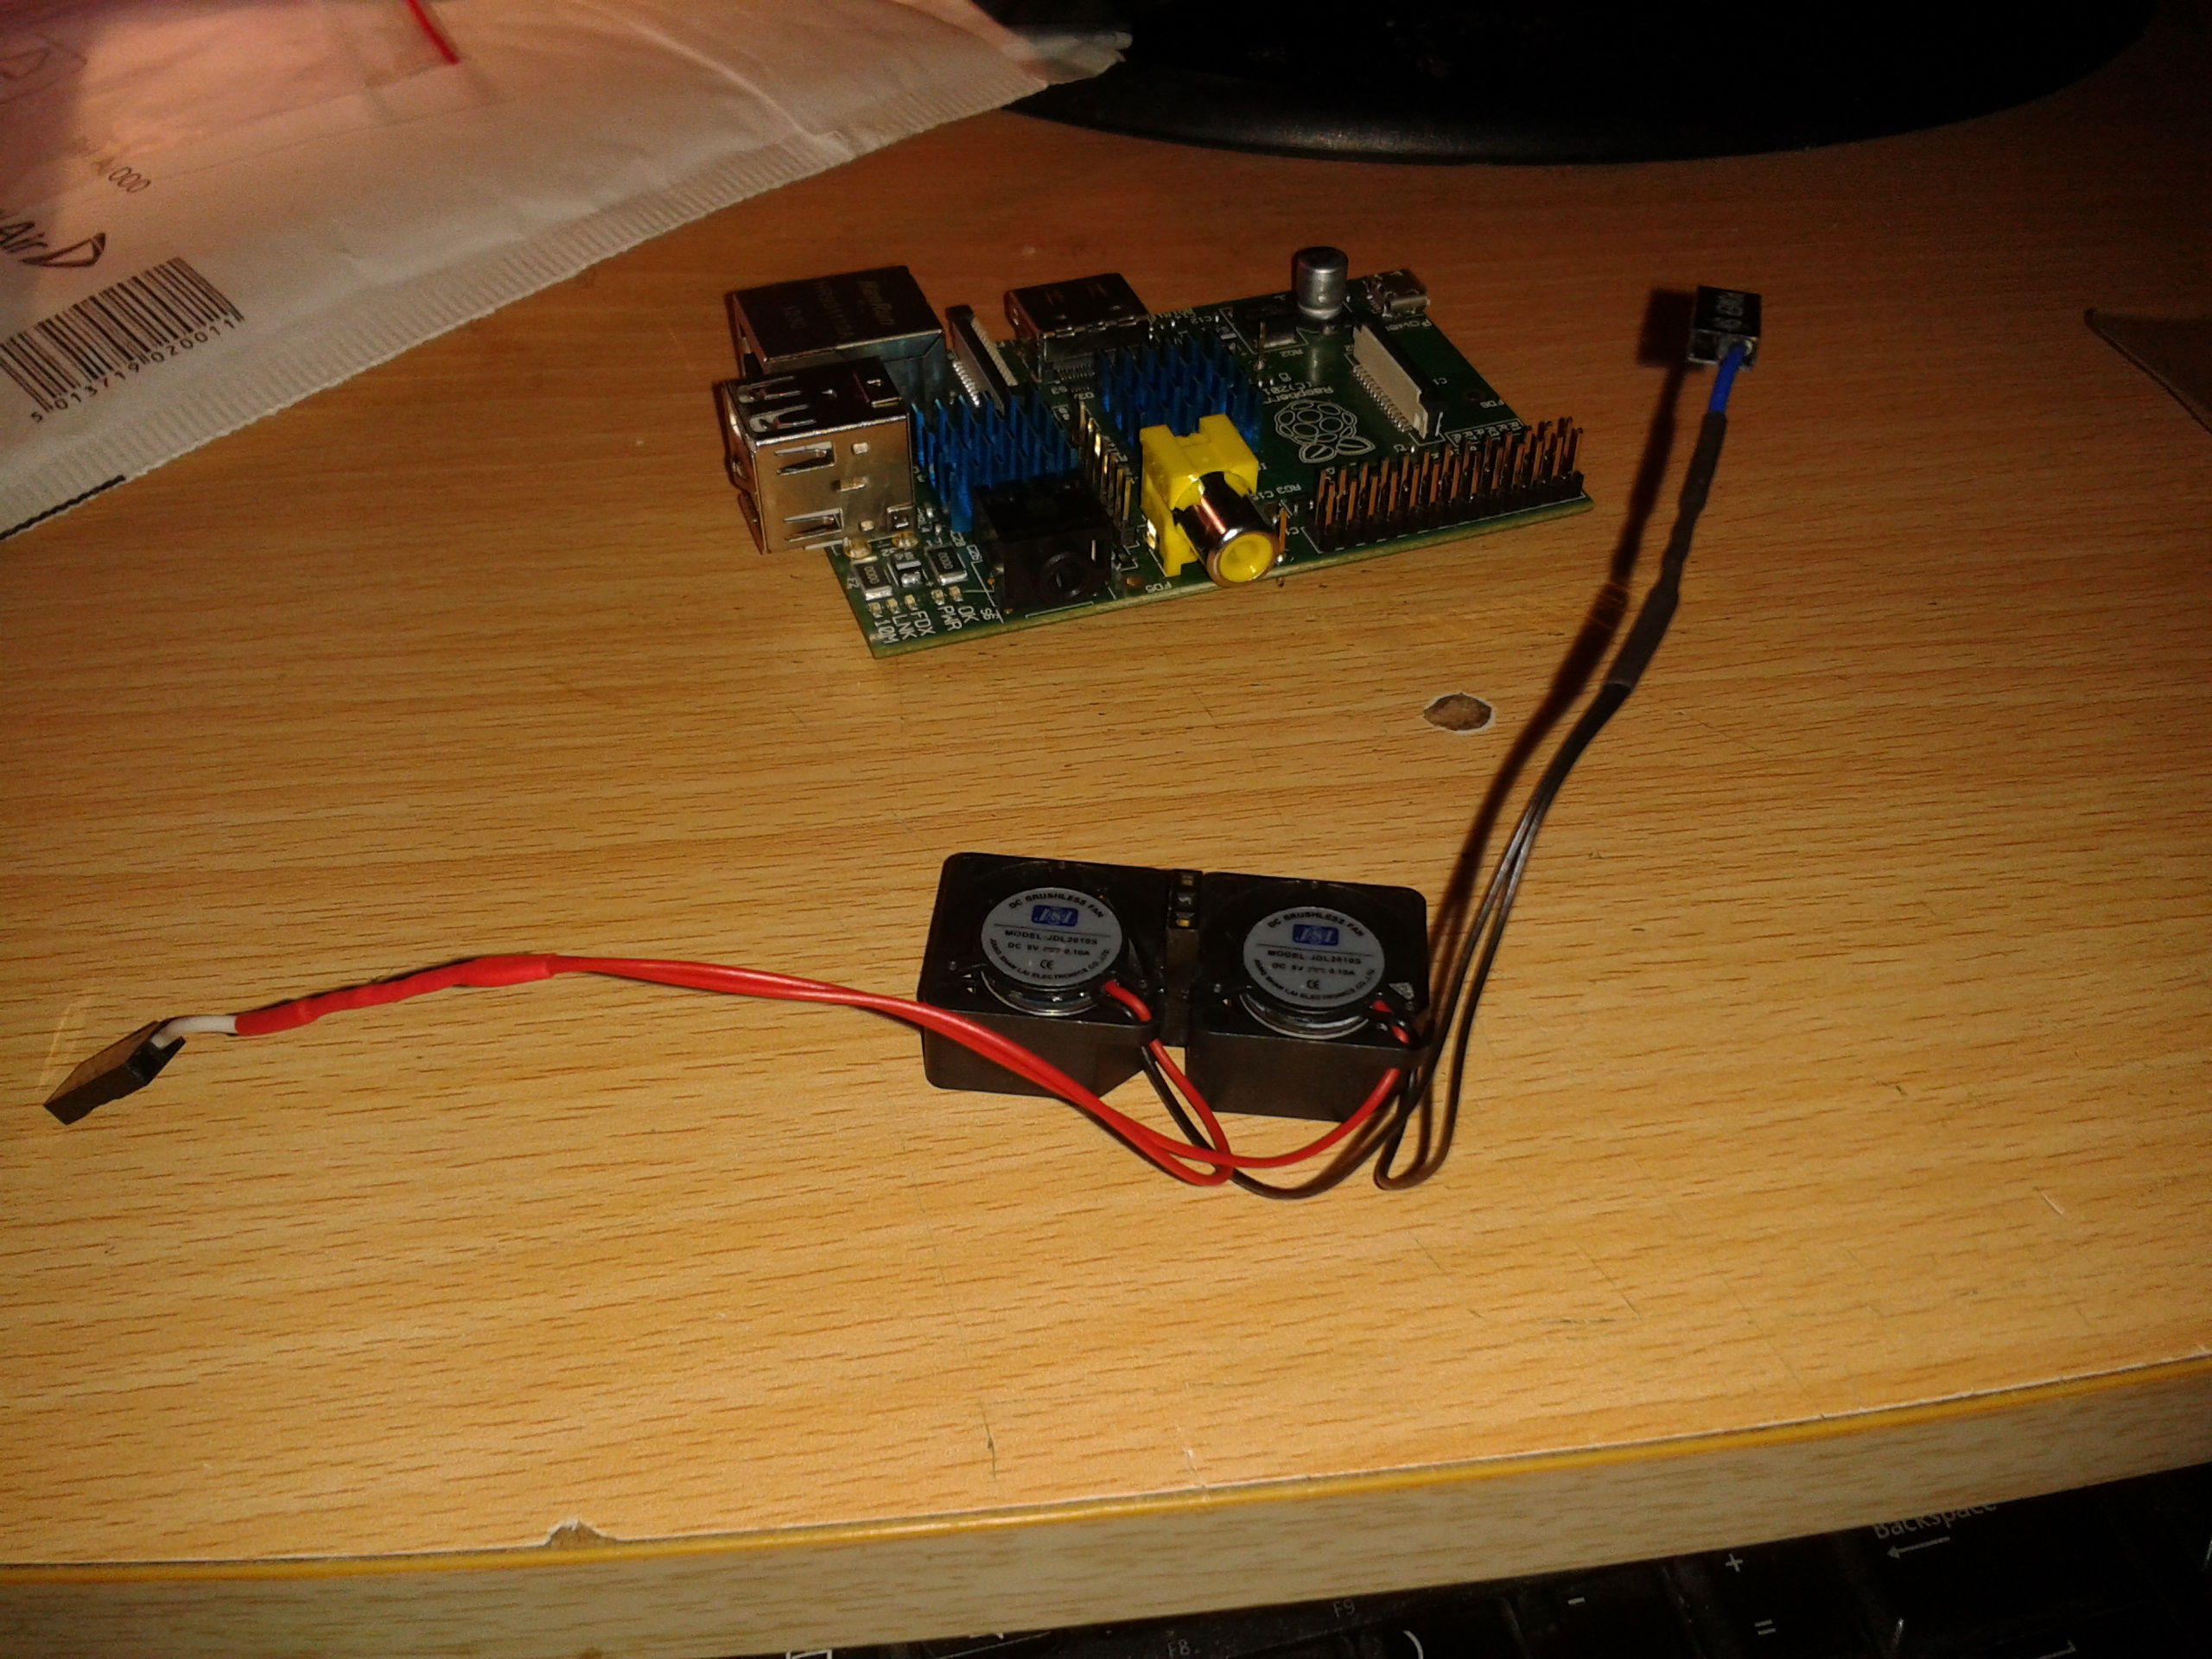
|
| Tue, 07 Oct 2014, 15:33 | |
|
Jayenkai |
Neato!! (He says, in a desperate attempt not to say "Cool!!!")
-=-=- ''Load, Next List!'' |
| Tue, 07 Oct 2014, 15:41 | |
|
steve_ancell
|
Cheers Jay.  I think I may need to cut a bit of length off those wires though, just wound them around the centre of the fan assembly for the time being. |
| Tue, 07 Oct 2014, 15:43 | |
|
steve_ancell
|
I will also be making a mini-tower case with accessability extension to to GPIO heaader and power switch. The Adafruit case that I was using decided to break recently.
|
| Tue, 07 Oct 2014, 16:16 | |
|
steve_ancell
|
Well I've left it running one of my Pygame experiments for about half an hour now, nothing has gone bang yet. 
|
| Tue, 07 Oct 2014, 16:52 | |
|
steve_ancell
|
Now trying it with this config, going to run it for half an hour. (Linkage) |edit| Seems to be running about 2-3 times the normal speed |edit| |
| Tue, 07 Oct 2014, 17:28 | |
steve_ancell
|
Hasn't blown up yet!
|
| Wed, 08 Oct 2014, 03:21 | |
rockford
|
How hot did it get without the cooling? Was fresh air wafting over it not enough to prevent damage?
|
| Wed, 08 Oct 2014, 03:45 | |
|
Jayenkai |
I imagine they're pretty volatile when overclocked. They're most certainly not built for that!!
-=-=- ''Load, Next List!'' |
| Wed, 08 Oct 2014, 05:39 | |
|
steve_ancell
|
They get pretty toastie even without overclocking, applying some fanage would probably extend the life of the board in either case.
|
| Thu, 09 Oct 2014, 18:23 | |
|
steve_ancell
|
Cropped the wiring, it looks a lot neater now.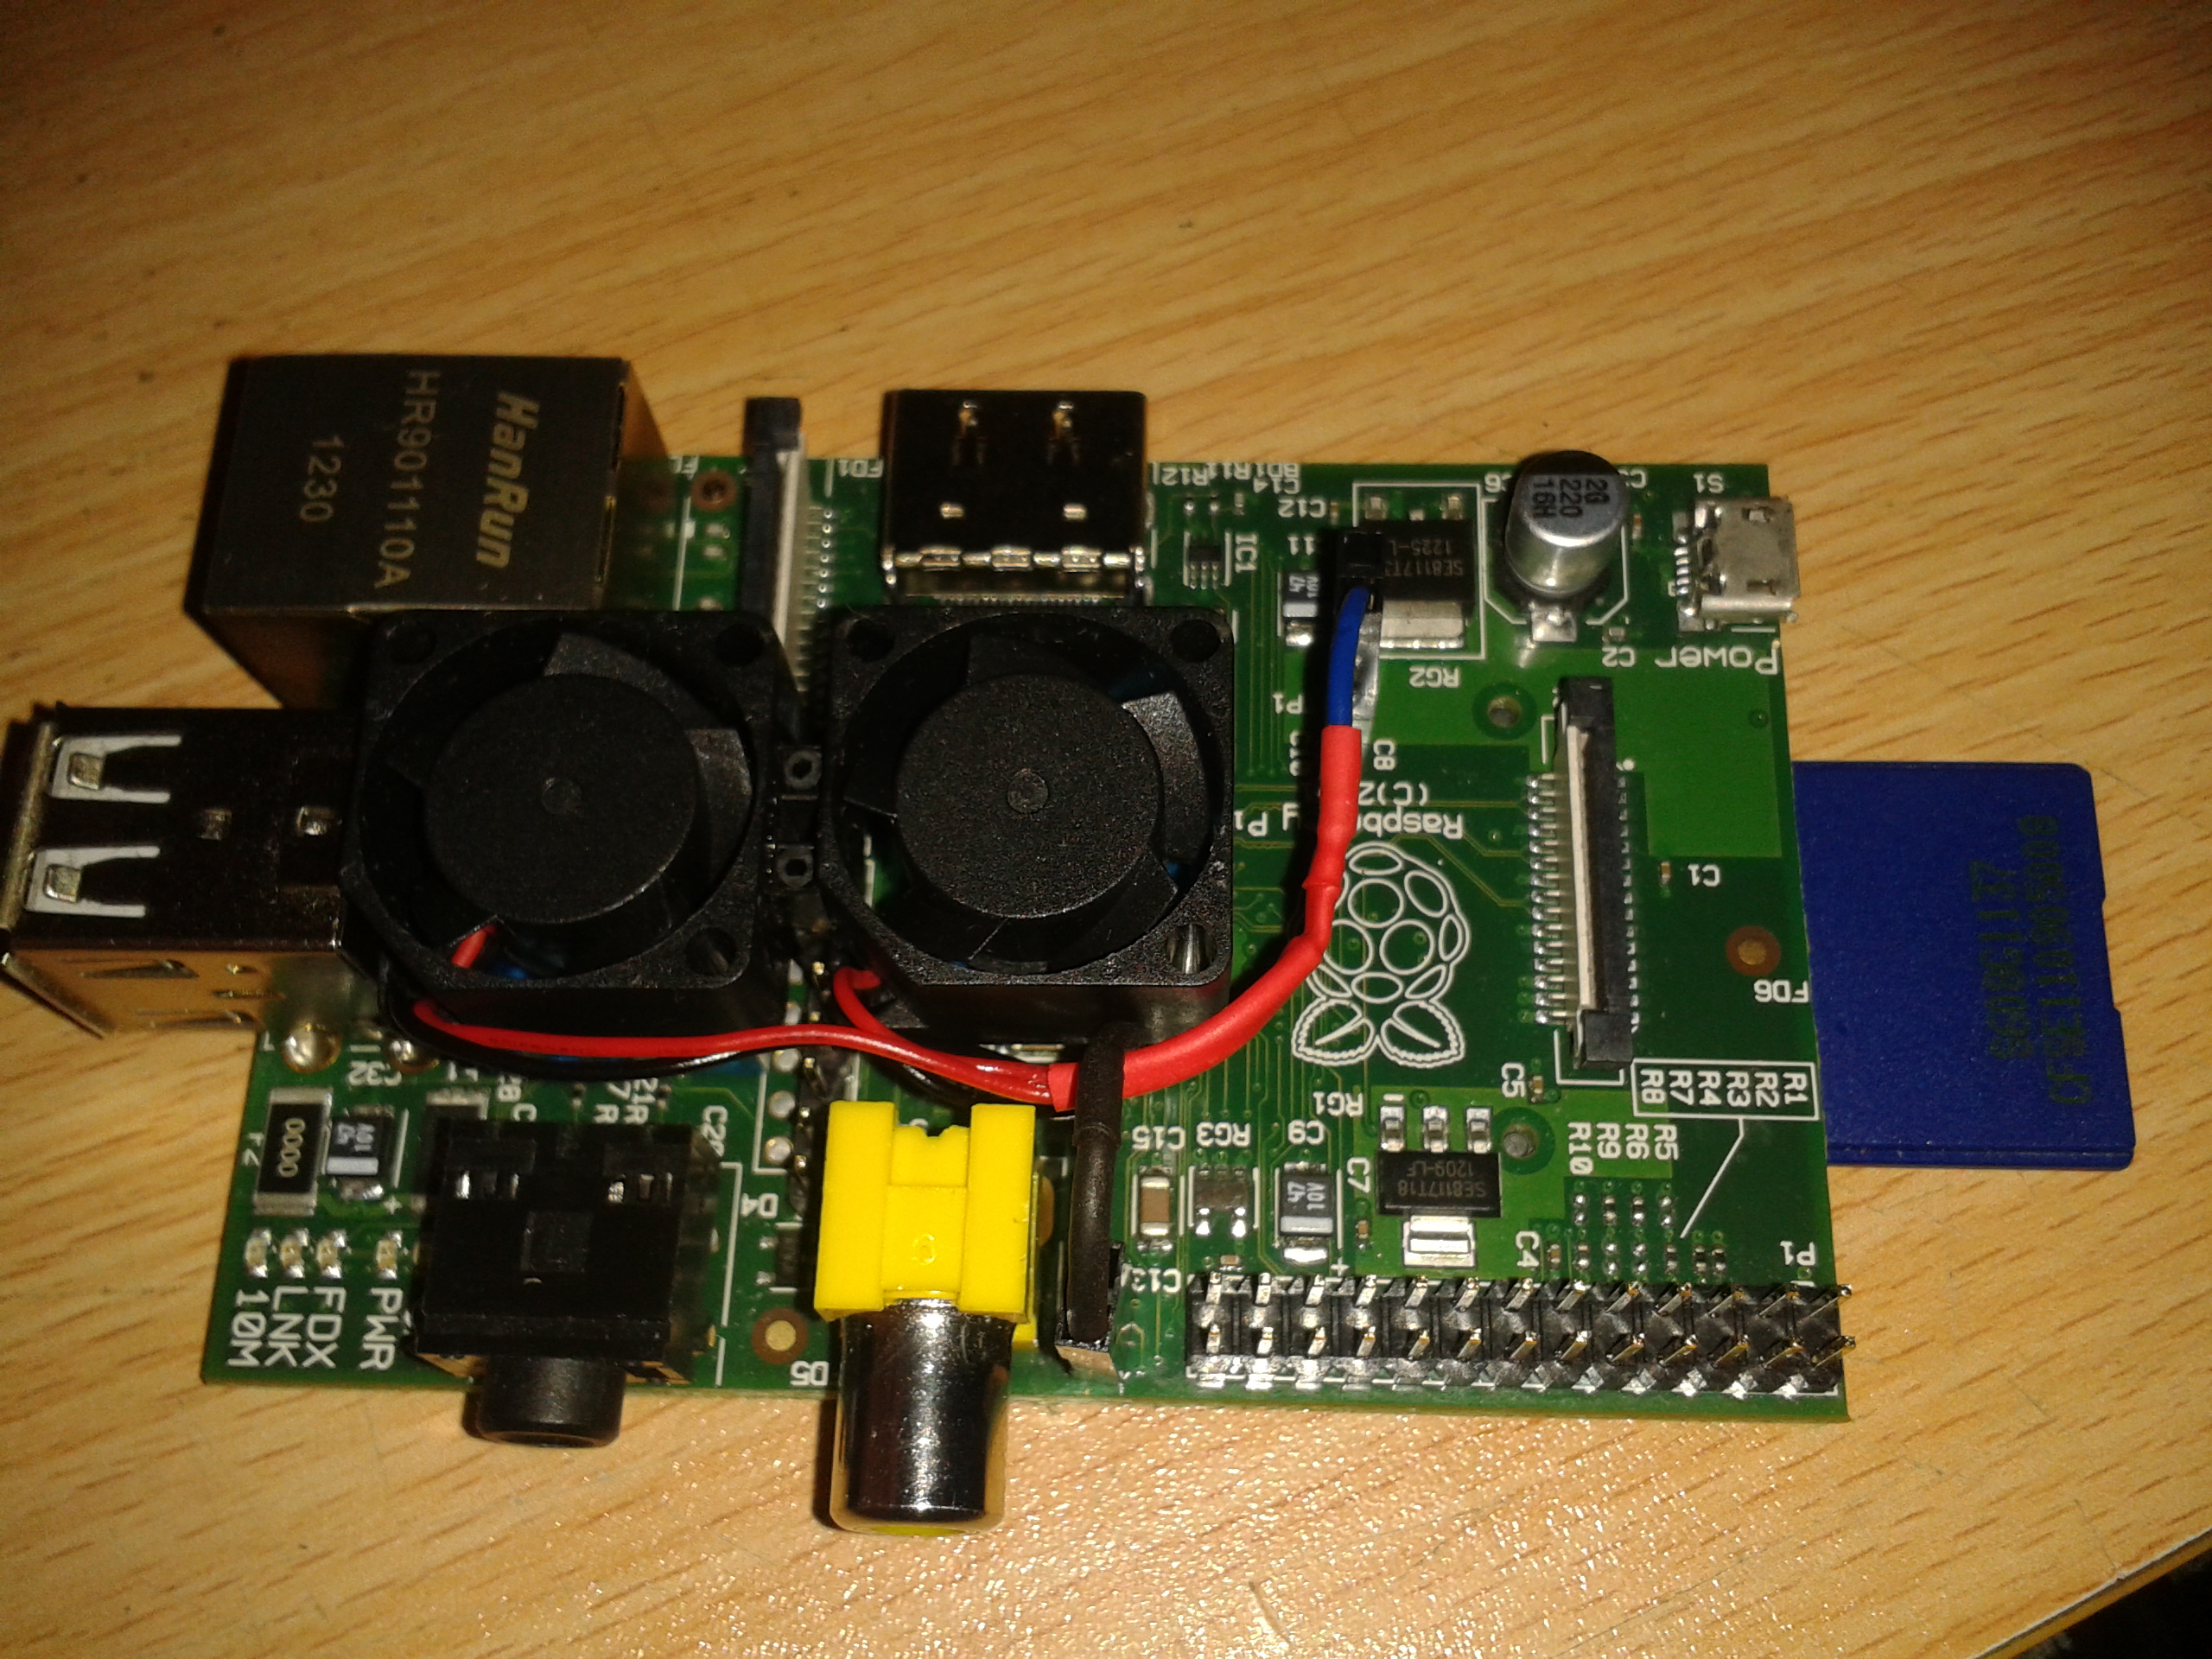
|
|
|
| |||
|
| ||||