


|
Socoder -> Off Topic -> Jay's Adventures in 3D Printing |
|
| Sun, 18 Feb 2018, 05:49 | |
|
Jayenkai |
Jay's Adventures in 3D PrintingReposted from AGameAWeek.com So, I spent most of yesterday retraining myself in the art of 3D Modelling. I downloaded Blender first of all, and started by figuring out how to carve a 2D sprite into a 3D object. First step, convert the .png sprite into a .svg (Scaleable Vector Graphic) I used this site to make the conversion.  Next, in Blender, create the 3D model you want to cut out from, and import the .svg. Select the correct .svg, (the above exporter seems to output a number of empty curves), then go into the Object options on the right hand toolbar doohickey.  From here, you can easily numerically scale and position the object with the numbered settings in here. Bump up the scaling so you can see the "curve" nicely, and it'll fit the purpose. In addition, go to Object Menu (Towards the bottom, View/Select/Add/Object), Transform, "Geometry to Origin", and it'll do it's best to center the curve. This isn't essential, but it does help! Next, you'll want to extrude the image into a 3D object.  Switch to the Curve options, and in there you'll find a simple little "Extrude" option. Bump up that number a bit (0.03 was enough for me), and you'll end up with a simple 3D model of your 2D image. To "solidify" the "curve" into a Mesh, go to Object Menu, Convert To, Mesh from Curve. Now, if your curve is anything like mine, it'll be too complex to carve with, so next we need to clean it up a little.  Head into Modifiers, and add a Remesh Modifier. Tweak the settings gently, until you get a nice solid looking object, without too many polygons, that looks roughly like how it should do. Don't forget to click Apply, to make the modifier permanent. Next, select the model you want to carve with your extruded shape, and add the Boolean Modifier. Select the extruded model as the "Object" and switch the Operation to Difference, then Apply. Theoretically, this *should* do the job, although it depends on how complex your object's mesh is, and whether it basically wants to actually do it or not!! It's very fussy! Suffice to say, with a whole lot of back'n'forth tweaking, I finally managed to get a decent 3D model out of it. 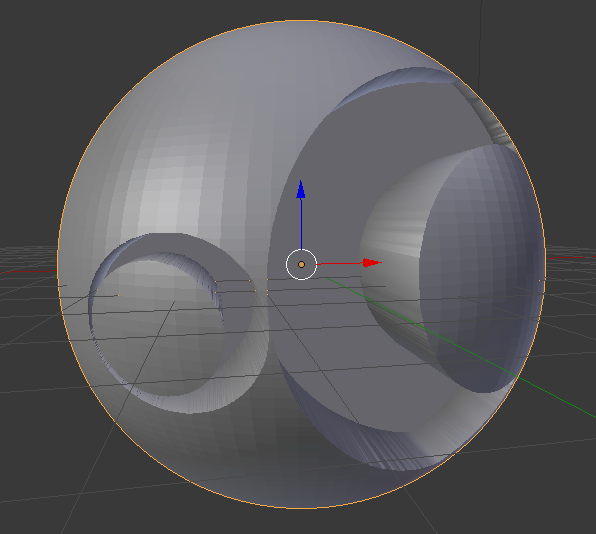 From there, you'll need to check your model is fully formed, ensure it's all "closed", then faff about with converting it to the correct format for 3D printing. Although I've attempted that, I'm not 100% sure on exactly what does or doesn't work, and that's not something I'll know until I actually get to printing things. Right now, I'm waiting on the printer to arrive, which should hopefully be at some point tomorrow, and then I'll continue to learn and sort this all out. .. No doubt, everything I've written here, will turn out to be completely unusable!! Wish me luck!! -=-=- ''Load, Next List!'' |
| Sun, 18 Feb 2018, 07:26 | |
|
spinal |
Cool! How long until we see little Platdudes all over your twitter feed?
-=-=- Check out my excellent homepage! |
| Sun, 18 Feb 2018, 07:33 | |
|
Jayenkai |
 There's a slight issue with approximately 99% of my sprites.. -=-=- ''Load, Next List!'' |
| Sun, 18 Feb 2018, 15:50 | |
steve_ancell
|
You could do one of him kneeling I suppose.  
|
| Sun, 18 Feb 2018, 15:51 | |
|
GfK |
Maybe you could print yourself a bigger house, to put all these on-a-whim gadget purchases in?
|
| Sun, 18 Feb 2018, 15:56 | |
|
Jayenkai |
You’ve drawn WAY too many squares on those legs, Steve!
-=-=- ''Load, Next List!'' |
| Sun, 18 Feb 2018, 16:01 | |
|
steve_ancell
|
Yeah I know, had to use two extra. I think that's the only way you could get a fairly strong 3D print out of it though.
|
| Sun, 18 Feb 2018, 16:03 | |
|
GfK |
He looks like he's just finished a song.
|
| Mon, 19 Feb 2018, 07:44 | |
|
Jayenkai |
Day One The printer turned up, and we got it all built and ready to go. The print bed screws didn’t seem to raise the platform high enough for "resistance of paper" testing. Either that or my paper is too thin!! As such, I’ve abandoned today's test and ordered what I hope will be a suitable piece of "borosilicate" glass, and some bulldog clips. Tomorrow I’ll start again, with the glass bulking up the size a little. .. I hope!! -=-=- ''Load, Next List!'' |
| Mon, 19 Feb 2018, 08:11 | |
|
Krakatomato |
You shouldn't need the glass bed yet - the printer should level with what you have out of the box. In fact, I'd recommend you ignore the glass for now as you'll need to peel off the black bed cover before you use the glass. Go back and loosen each corner - it should easily lift high enough to touch the nozzle. Also, in the menu, did you ensure you did "home all" - and then turned the printer off when it had done the job? I recall having the same issue when I got mine, but it was literally me being a bit, erm, dumb 
|
| Mon, 19 Feb 2018, 08:15 | |
|
Jayenkai |
I’ll attempt it again, later. For now, the whole "putting it together" has knackered me out!! -=-=- ''Load, Next List!'' |
| Mon, 19 Feb 2018, 08:18 | |
|
Jayenkai |
"Where do you put the paper?" “... no, Mum. It doesn’t use paper.†"Then what did you want the paper for?†-=-=- ''Load, Next List!'' |
| Mon, 19 Feb 2018, 08:21 | |
|
Krakatomato |
Yeah, don't overdo it and ruin your health lad. If there's one thing required with this 3D printing lark it's a bit of patience!
|
| Mon, 19 Feb 2018, 09:22 | |
|
Krakatomato |
Another thing you should check is that the Z height is level on both sides. The following should help with Z-height and bed leveling: electronicgeektips.wordpress.com/3-step-by-step-bed-levelling-first-time-calibration/ Couple of things you'll want to print at some point: www.thingiverse.com/thing:2050352 and a few of these: www.thingiverse.com/thing:12516 I would also highly recommend doing the "Angled Fan Mount" mod described here: 3dprinterwiki.info/duplicatori3/cooling-mods/ When you've got the above done and your prints are coming out ok then look at using the glass base - but you will need to move the Z limit switch and remove the black cover from the build plate - and they're stuck down really well! |
| Mon, 19 Feb 2018, 10:37 | |
|
Jayenkai |
This was intended as a pisstake for the shittiness of Funkopops... I ended up drawing way more than intended!! 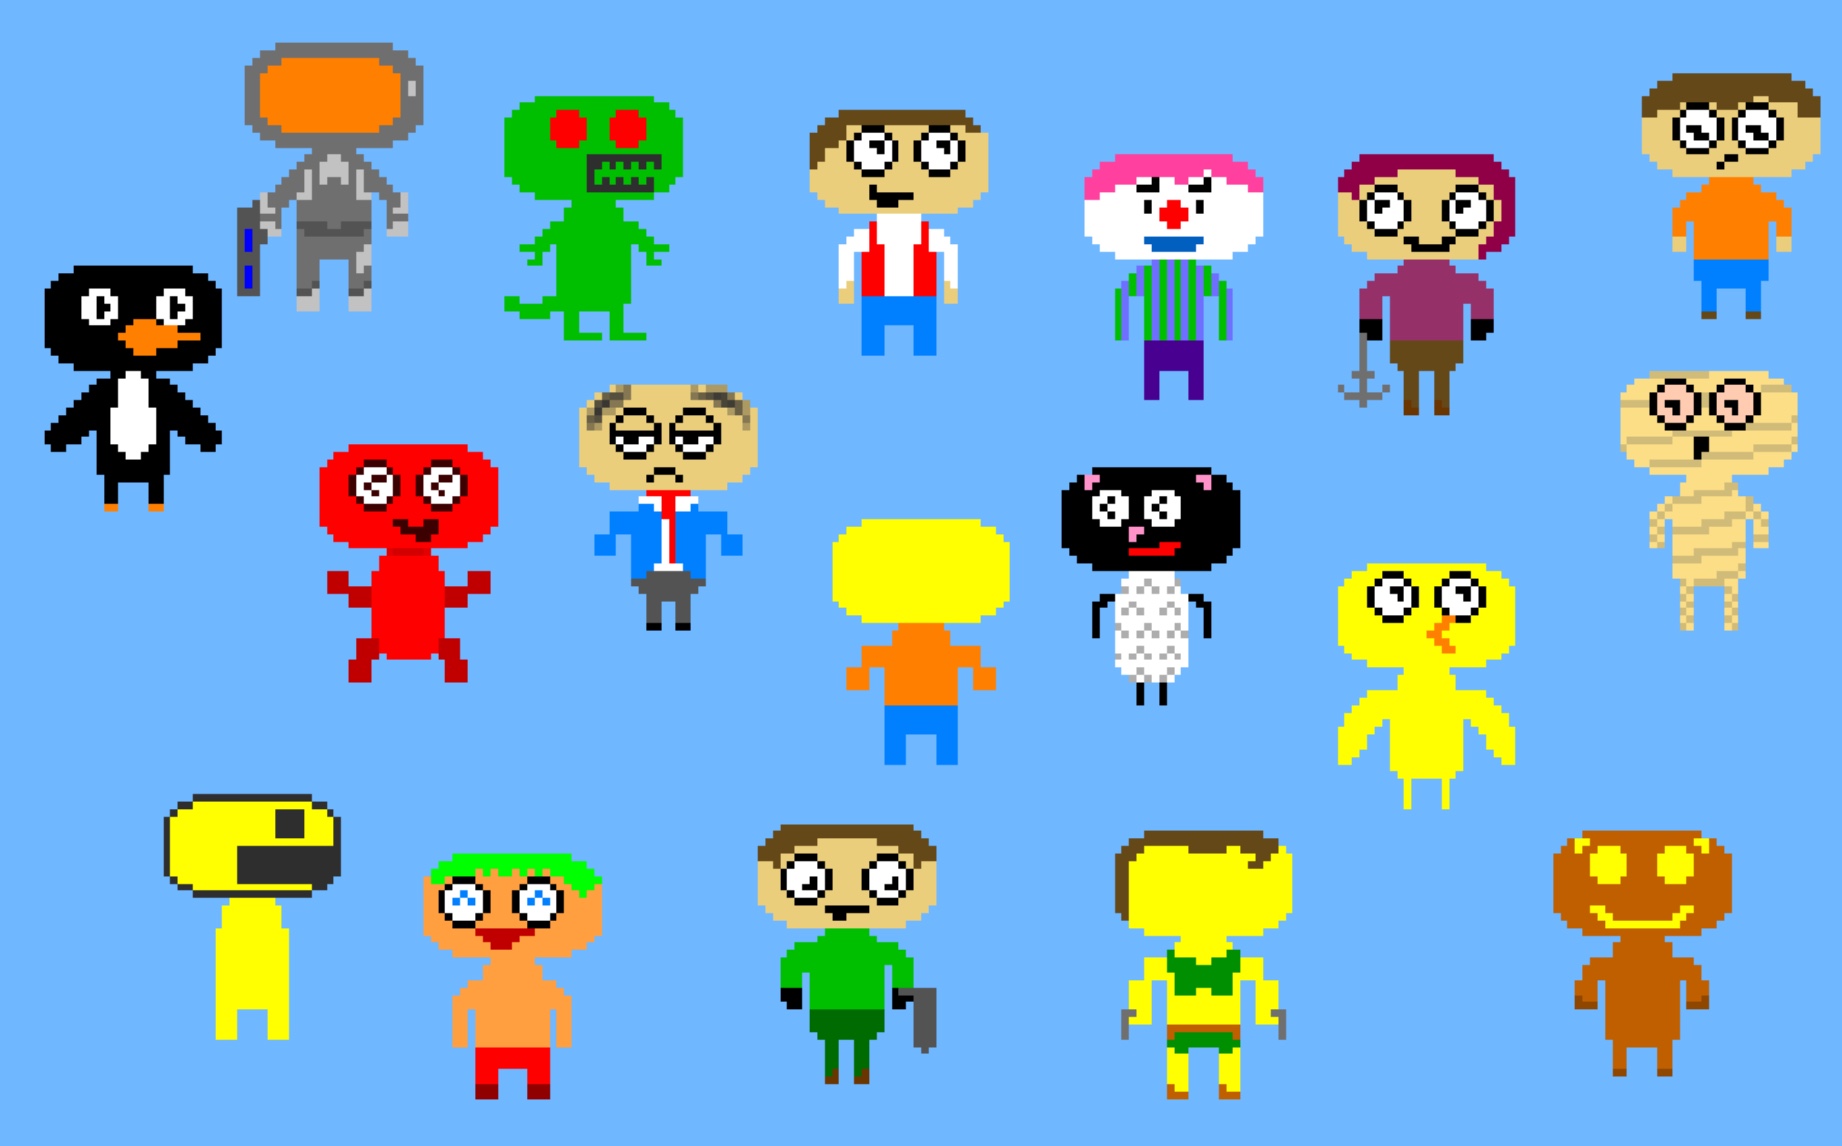
-=-=- ''Load, Next List!'' |
| Tue, 20 Feb 2018, 07:32 | |
|
Jayenkai |
Day Two. Ok, so I got the bed level and raised, and all is good. The glass arrived, but as per Krakatomato's instructions, I’ll hold off until "needed" So, step seventy eight was putting the "ink" in. "Until you see the filament extrude" ... I didn’t see the filament extrude. I pushed, and pulled the little grip, and I pushed some more, but ... No filament extruding. Tried and tried.. Gave up for now. -=-=- ''Load, Next List!'' |
| Tue, 20 Feb 2018, 08:33 | |
|
spinal |
I can't wait to see your first 'real' 2cm cube exported from blender...
-=-=- Check out my excellent homepage! |
| Tue, 20 Feb 2018, 09:37 | |
|
TomToad |
3 things to check. 1. Is the nozzle getting hot enough for the type of filament you are using? Some have a higher melting point than others. 2. Is the filament in good condition? Old filament can get brittle keeping the gears from getting a good grip on it. 3. Is the nozzle free from obstruction? It is possible that filament can burn inside the nozzle if it is too hot or doesn't flow smoothly, plugging up the nozzle. Check youtube for cleaning advice. |
| Tue, 20 Feb 2018, 09:42 | |
|
Jayenkai |
1. It "says†it is. I’m willing to assume that it's right, but .. who knows! 2. It's what came with it. It "should" be ok... but .. see 3. 3. It's brand new, and should be "clean as a whistle, Homer.." I've been watching various tubage, and will be reattempting it later. -=-=- ''Load, Next List!'' |
| Tue, 20 Feb 2018, 12:02 | |
|
Jayenkai |
Hmmm. Levelling issues again.. I can get the z axis bars level if I tweak the screw from around the back like here. https://youtu.be/YBEEquE68UM Unfortunately, the second I switch it back on, it instantly realigns itself to a cockeyed tilt. Hmmmm.... -=-=- ''Load, Next List!'' |
| Tue, 20 Feb 2018, 12:34 | |
|
Jayenkai |
Getting closer. I’ve added the glass, and tilted the base so that both the Zbars and the base are now level, and close. It’s starting to print, but is catching itself and pulling the print off the glass, and then all hell breaks loose. So, I’m assuming that’s either the PLA not adhering to the glass properly, or the printer being "too" close to the base... Tomorrow... 
-=-=- ''Load, Next List!'' |
| Tue, 20 Feb 2018, 13:13 | |
|
GfK |
Christ, what a faff! This lark's not for me!!
|
| Tue, 20 Feb 2018, 14:08 | |
therevillsgames
|
I've been tempted in the past to get a 3D printer... printing one's own toys is pretty cool: https://www.3ders.org/articles/20160907-star-trek-online-to-offer-licensed-custom-3d-printed-models-of-star-trek-spacecraft.html  but going to hold off until at least the next generation ;P 
|
| Tue, 20 Feb 2018, 14:10 | |
|
GfK |
Yeah if I could print myself a cup of Early Grey (Hot), I could be persuaded.
|
| Tue, 20 Feb 2018, 14:34 | |
|
Krakatomato |
Sorry, meant to check how you were getting on today but work got in the way. Sticking a glass base on top of the black cover isn't ideal. The glass is borosilicate so it conducts heat pretty well, but if it's not in direct contact with the metal base then it will struggle to provide the temperature required for good adhesion. Get the extruder temp to 195 and the bed temp to around 60. You may need more if it's glass sat on top the black stuff. When the bed is heating up, rub a thin layer of prittstick (or cheap arsed variant) onto the bed in the regions your print will sit. This is probably the best approach for now. To be honest though, I'd lose the glass for now and stick with the black. Get it all working and then make improvements. |
| Tue, 20 Feb 2018, 14:38 | |
|
Jayenkai |
Like I said, without the glass it just isn’t reaching! Even at the bed's highest setting, and yes the z axis lock switch thing is also at its lowest point. The glass had to be added! .. unless I’m missing something else..? Anyhoo, will try again tomorrow. Bit by bit, I’ll figure it out!! ... maybe.. -=-=- ''Load, Next List!'' |
|
|
| |||
|
| ||||